OPNsense
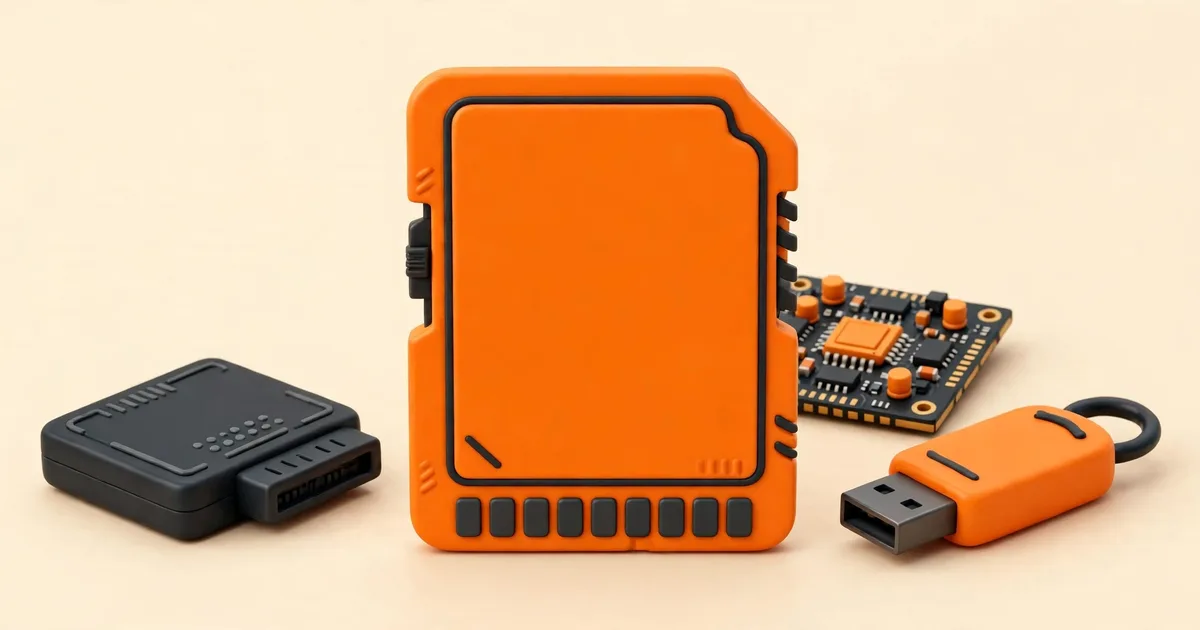
The nano image is OPNsense's preinstalled embedded option: instead of booting an installer and installing to a disk, you write the nano image directly to a USB drive, SD card or CF card of at least 4 GB, boot the device from that card, and start configuring. There is no installer run at all. The trade for that simplicity is that nano is built for embedded hardware: it writes to RAM disks, keeps no logs across a reboot, and turns reporting off by default, all to protect the flash card it runs from. This guide explains how nano behaves, when it is the right choice, how to get it running, and how to confirm it is working.
What the nano image actually is
OPNsense publishes two families of images. The full images (dvd, vga and serial) boot a live environment with an installer. Nano belongs to the embedded family, and it arrives as a complete, ready to run system. The download is a compressed disk image (the file name follows the pattern OPNsense-<version>-nano-amd64.img.bz2), it is about 3 GB in size, and after the first boot it automatically adapts to the size of the media you wrote it to, so a larger card gives the system room rather than going to waste.
Its console arrangement also differs from the VGA image. Nano's primary console is serial, at 115200 baud, with secondary VGA support that shows no kernel messages. On a headless appliance that is exactly what you want; on a machine where you expect a normal monitor based boot display, it can look like nothing is happening, which is why our image comparison guide is worth reading before you download.
How nano differs from a full install
| Behaviour | Nano (embedded) | Full install (dvd, vga, serial) |
|---|---|---|
| Installation | None: the image is preinstalled, write it and boot it | Run the installer onto a local disk |
| Logs | /var/log is a RAM disk; log data is not retained after a reboot | Logs are written to local disk and retained |
| Temporary files | /tmp is a RAM disk by default | On disk, unless RAM disks are enabled manually |
| Reporting | Disabled by default | Available |
| Intended storage | USB drive, SD or CF card (minimum 4 GB) | SSD or hard disk |
| Disk writes | Deliberately minimised to prolong card life | Normal |
The RAM disk behaviour is the heart of the design. Flash cards wear out under constant small writes, and a firewall generates a constant stream of log entries. By holding logs and temporary files in memory instead, nano trades history for hardware life: your configuration is saved on the card and survives reboots, but the log of what happened before the reboot does not.
It is worth knowing that the behaviour is a choice, not a cage. A full installation can be made to mimic the embedded model by enabling RAM disks in the web interface, which some people do on SSD systems for the same wear reasons. Nano simply starts from that position and adds the preinstalled convenience.
When nano is the right choice
- Your hardware is an embedded appliance or small board whose storage is a USB drive, SD or CF card rather than an SSD.
- You want the simplest possible path from download to a running firewall, with no installer step.
- The device is headless and you are comfortable managing it over the network and, when needed, a serial console.
- Your workload is routing, firewalling, DHCP, DNS and VPN: the standard features that do not depend on disk writes.
- You accept that logs restart empty at every reboot and that reporting is off unless you change the defaults.
When nano is the wrong choice
The official hardware guide ties the minimum tier (3 GB of RAM and a card) to features that do not need disk writes, and names what falls outside it. If any of the following are on your list, choose a full install on an SSD instead:
- A caching proxy, which stores content on disk by design.
- IDS/IPS with an alert database you can review over time; the database is a disk feature.
- Long log retention and reporting history, for troubleshooting, compliance or simple curiosity about last month.
- A growing set of plugins that assume a normal disk underneath them.
Our hardware requirements guide sets out the tiers behind this: the reasonable and recommended tiers both specify an SSD precisely because those features live there. Choosing nano for a workload that needs a disk does not fail loudly; it fails quietly, in missing history and disabled features, which is worse.
What you need
- A USB drive, SD card or CF card of at least 4 GB. The image adapts to larger media after first boot, so a bigger card is fine.
- The nano image, downloaded from this site (the official file, served from the project release server) and decompressed from its .bz2 form before writing.
- A tool to write the raw image to the card. The current official install guide does not name a specific writing tool; use whichever raw image writer you trust, and write the decompressed .img file, not the .bz2, to the whole device rather than to a partition.
- For a headless device: a serial cable and terminal set to 115200 baud, as covered in our serial console setup guide. A monitor may show part of the boot through the secondary VGA support, but the serial console is the primary path.
- Two Ethernet cables and a computer for the first configuration.
Getting nano running, step by step
- Download and verify. Get the nano image from an official mirror and, before writing it, verify it the same way you would any other image: the checksum and signature process in our verification guide applies unchanged, and a card written from a corrupt download fails in confusing ways.
- Decompress and write. Unpack the .bz2 to get the .img file, then write that image to the card. Double check the target device before you confirm: writing a disk image erases the destination completely.
- Insert and boot. Put the card in the device, connect the serial console if the device is headless, and power on. The system boots straight into a running OPNsense; there is no installer to launch and nothing to select.
- Assign the interfaces. On first boot the system prompts for interface assignment, just like a fresh installation: the first interface assigned becomes LAN, the second WAN, and any others become optional interfaces. VLANs can be skipped and configured later.
- Reach the web interface. Connect a computer to the LAN side. The default LAN address is 192.168.1.1, and the web interface answers over HTTPS there. Log in with the user name
rootand the default passwordopnsense, then change that password immediately; a preinstalled system ships with a publicly known one. - Configure and update. Work through the setup wizard for hostname, time zone and DNS, then check for firmware updates under System, Firmware, Status. Images are only rebuilt for the major releases, so a fresh nano system is behind the latest update in its series, and updating right away is the official advice for any new installation.
How to confirm it worked
- The device boots from the card with no installer appearing, and the console (serial, or the web interface) answers.
- The console banner shows your interfaces with LAN at 192.168.1.1/24 and WAN receiving an address from your provider.
- A computer on the LAN gets a DHCP address and can open
https://192.168.1.1and reach the internet through the device. - After a deliberate reboot, your configuration is still in place (it is stored on the card), while the logs start fresh. That combination is nano behaving exactly as designed, not a fault.
- The firmware status page shows the system up to date after your first update check.
Nano and the minimum hardware tier
Nano is not just an image choice; it is the software half of the official minimum hardware tier. That tier (a 1 GHz dual core CPU, 3 GB of RAM, and an SD or CF card of at least 4 GB using the nano image) exists for embedded devices, and its limits are the tier's limits: standard features that do not need disk writes. If your device has more to offer, in particular an SSD and 4 GB of RAM or better, you have already outgrown the minimum tier, and a full install will serve you better than nano on the same box. Conversely, if your device is exactly that minimum tier, nano is not a compromise; it is the intended configuration, and the full installer is the awkward fit.
This is also why the nano download and the card size belong together. The image needs a card of at least 4 GB, it occupies about 3 GB as shipped, and it expands to use the card you give it after the first boot. There is no benefit in hunting for an enormous card for nano itself; configuration is small, and the things that eat storage on other systems are precisely the things nano keeps in RAM.
Common nano mistakes
Writing the compressed file to the card
The download is a .bz2 archive of the image, not the image itself. Writing the archive to the card produces a card that cannot boot. Decompress first, then write the .img file.
Waiting for an installer that never comes
People familiar with the full images sometimes boot nano and wait for an installation step, or go looking for the installer login. There is none: the system on the card is the installed system. If you find yourself at the console menu, nano has already done its job, and configuration is the next step.
Expecting a normal monitor display
Nano's primary console is serial. Its secondary VGA support shows no kernel messages, so a monitor can sit dark or still while the system boots happily. Judge the boot by the serial console or by the web interface answering, not by the screen.
Leaving the default password in place
A preinstalled system cannot ask you to invent a password during setup the way the installer does. It ships with the documented default credentials, which are printed in every guide including this one. Changing the root password is not a finishing touch on nano; it is part of the installation.
Judging nano by a full install's standards
Empty logs after a reboot, reporting that starts from nothing, features that decline to store data on disk: on a full install these would be faults. On nano they are the design working as intended. The time to object to them is at the choosing stage, which is what the right choice and wrong choice lists above are for.
Living with RAM disks
Day to day, a nano system feels like any other OPNsense: the same web interface, the same firewall, the same console menu. The differences surface in specific moments. Troubleshooting something that happened before a power cut is harder, because the logs from before the reboot are gone. Reporting graphs have no deep history to draw on. And a card that eventually wears out takes the system with it, which makes a current configuration backup (System, Configuration, Backups) more than a good habit on nano: it is your rebuild plan, because writing that backup to a computer costs the card nothing and turns a dead card into a short job instead of a lost weekend.
None of this makes nano a lesser OPNsense. It makes it a specialised one, built honestly for the hardware it targets. If your device grows an SSD later, or your ambitions grow past it, the path out is simple: back up the configuration, do a full install on the new storage using the steps in our mini PC installation guide, and restore the backup onto it.
Rule of thumb: card storage means nano, SSD storage means a full install, and a workload that needs disk writes means an SSD, whichever image you were considering. Match those three and nano is either clearly right or clearly not, with no grey area to regret later.