OPNsense
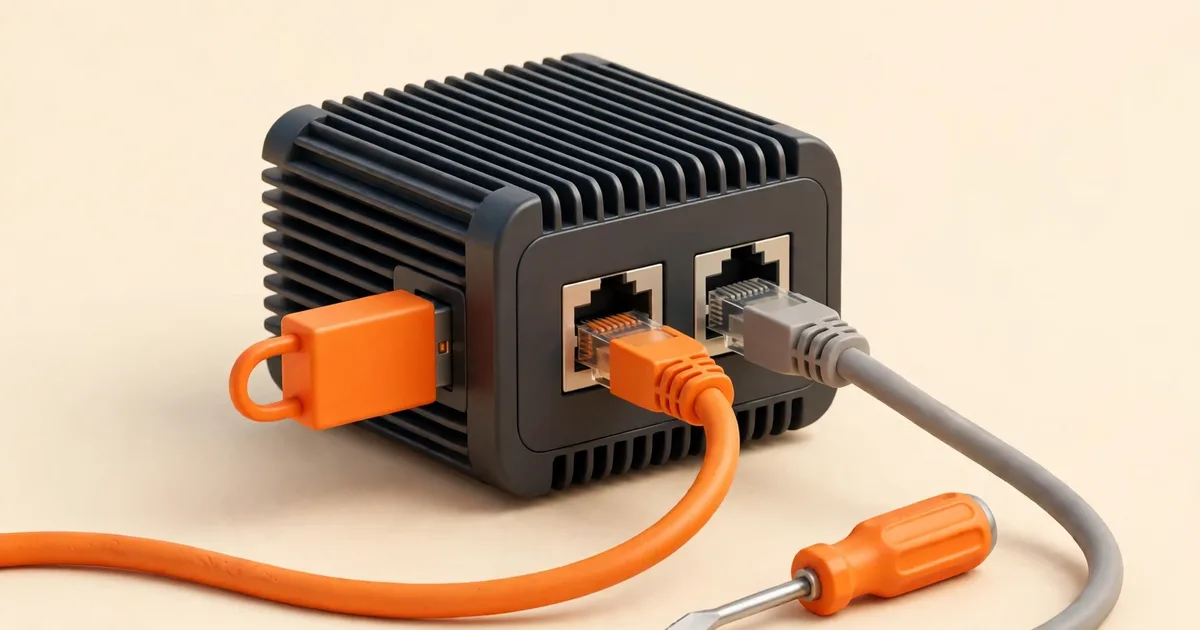
Installing OPNsense on a fanless mini PC follows the same path as any other hardware: pick the right installer image for the console your box offers, write it to a USB stick, boot from it, run the installer onto the internal SSD, then assign the network ports so the correct socket becomes WAN and the correct one becomes LAN. The mini PC specific parts are the preparation: setting the firmware to boot from USB, knowing which physical port is which before you start, and confirming at the end that the box reboots on its own into a working firewall. This guide covers the whole job in order.
Before you start: what you need
- The mini PC itself, with its power supply, placed where it will live or somewhere you can reach its ports comfortably during setup.
- The correct installer image for your console. Display and keyboard mean the VGA image; a serial only appliance means the serial image. If you are unsure, our comparison of VGA vs DVD vs Serial vs Nano images settles it before you download anything.
- A bootable USB stick made from that image. Our bootable USB guide covers decompressing the download and writing it correctly.
- A monitor and keyboard, or a serial cable and a computer to act as the terminal (see our serial console setup if your box is headless).
- Two Ethernet cables: one toward your modem or fibre terminal, one toward your LAN or a laptop for setup.
- Your internet connection details, if your provider needs more than plain DHCP on the WAN side.
One preparation habit pays for itself: decide now which physical port will be LAN and which will be WAN, and note the MAC addresses printed on the case label if there is one. Interface assignment later asks you to identify ports, and doing it with a plan beats doing it by trial and error. Also check that your hardware clears the basics in our hardware requirements guide: the installer alone needs 3 GB of RAM to run.
Set it up on the bench first
Resist the urge to mount the box in its final spot and then install. Do the whole installation on a desk or table, with the monitor, keyboard and cables in easy reach and the case label (with its MAC addresses) readable. Installation involves at least one trip into the firmware, one reboot where you need to remove a USB stick at the right moment, and a port assignment step where you will plug and unplug cables on request. Every one of those is simpler with the box in front of you than with it screwed to a wall or buried in a cabinet. Once the confirmation list at the end of this guide passes, moving it to its permanent home is a five minute job: power down with console menu option 6 (Halt system), unplug, move, reconnect the same ports, power on.
Step 1: Prepare the firmware
Plug in the USB stick, attach the monitor and keyboard (or the serial cable), and power the box on while entering its firmware setup. The key varies by manufacturer and is usually shown briefly on screen. Inside the setup, you are looking for three things:
- Boot order: set the USB stick as the first boot device, or use the one time boot menu to select it for this boot only.
- Power behaviour: set the machine to power on automatically after a power loss. A firewall that stays off after an outage takes your whole network with it.
- Boot related settings: if the stick is ignored or the boot fails with an error, review settings such as Secure Boot and the boot mode. Firmware that refuses unsigned boot media is a known cause of a stick that appears fine on another machine; adjusting the firmware setting, rather than remaking the stick, is the fix in that case.
Save the settings and let the box restart from the stick.
How you know it worked: the machine boots from the USB stick and OPNsense starts loading, ending at either a login prompt (live environment) or the configuration importer prompt if it offers one. If you see the mini PC's old operating system or a "no bootable device" message instead, the boot order change did not take effect; return to the firmware and check it.
Step 2: Run the installer
The full installer walkthrough, screen by screen, lives in our main OPNsense installation guide; the outline below is the same flow with the mini PC points flagged. When the live environment reaches its login prompt, log in as the user installer with the password opnsense, which starts the installer.
- Keymap: accept the default unless your keyboard layout needs another choice.
- Filesystem: choose ZFS in most cases; the official guidance calls it the best option in most situations, though it needs a couple of GB of disk at least. UFS is the alternative, and the one advised for SD or MMC style targets, which a mini PC with an SSD is not.
- Disk selection: pick the internal SSD. Be certain: the next step warns that the contents of the selected disk will be destroyed, and on a mini PC the installer stick and the SSD can look similar in a list. The stick is the one you booted from; the SSD is the target.
- Swap: skip swap for install targets under 16 GB, as the installer suggests; a typical mini PC SSD is far above that, so the default is fine either way.
- Root password: set a strong one. This becomes the password for the web interface administrator account as well.
- Complete and reboot: choose the option to complete the installation and restart, and remove the USB stick when the machine powers down or as it restarts, so it does not boot the installer again.
How you know it worked: with the stick removed, the box boots from its SSD and arrives at the OPNsense console menu on its own. Booting back into the installer means the stick was still present or still first in the boot order, which is a firmware fix, not a reinstall.
Step 3: Assign the interfaces
After installation the system prompts for interface assignment; if the prompt is passed by, defaults are applied and you can redo the assignment any time from the console menu (option 1) or later in the web interface. The order matters: the first interface you assign becomes LAN, the second becomes WAN, and any further ports become optional interfaces you can configure later.
Assign deliberately, using the plan you made earlier:
- When the prompt asks you to connect the LAN interface and press Enter, plug a cable into the port you chose for LAN so the system can detect the link on the right adapter.
- Do the same for WAN with its cable, toward the modem or fibre terminal.
- Skip VLAN configuration at this stage unless you already run VLANs; the prompt offers it, and it can always be done later in the web interface.
- If your box has extra ports, leave them unassigned for now. They can be enabled as optional interfaces whenever you need them.
Keep a note of which adapter name belongs to which physical socket (the console displays the adapter names and their MAC addresses during assignment). Stick a small label on the case if the ports are unmarked. In three months, when you add a guest network to the third port or swap a cable at midnight, that note is the difference between a two minute job and a guessing game.
How you know it worked: the console shows the assignment summary with your chosen adapters listed as LAN and WAN, and the welcome banner shows the LAN address as 192.168.1.1/24. The link light on each cabled port should be lit; a dark port means the cable, the socket or your port identification is wrong, and it is far easier to fix now than after the box is in place.
Step 4: Confirm the firewall is alive
Run through this confirmation list before you declare the job done:
- The console menu (the numbered list of options) is displayed after a reboot with no USB stick attached.
- The banner shows LAN at 192.168.1.1/24 and the WAN interface picking up an address from your provider, if it is connected.
- A computer plugged into the LAN port (or connected through your switch) receives an address by DHCP.
- From that computer, the web interface opens at
https://192.168.1.1and accepts the root password you set during installation. - That computer can reach the internet through the mini PC, which proves the port roles are the right way round.
That last check is the decisive one. If the web interface loads but nothing reaches the internet, and the WAN side shows no address, suspect swapped ports first: it is the most common mini PC mistake, because the ports look identical. Fix it with console menu option 1 (Assign interfaces) and repeat the assignment with the cables in the other sockets, then test again.
Step 5: First login and the update you should not skip
Log in to the web interface with the user name root and the password you set during installation. The setup wizard will offer to walk you through the basics (hostname, domain, time zone, DNS, and the WAN and LAN settings you have just made); completing it deliberately, rather than clicking through, is worthwhile, and our wizard walkthrough in the Setup and Configuration category explains every field.
Then update. Installer images are only rebuilt for the January and July major releases, so the system you have just installed is behind the latest update in its series, and the official guidance is to update immediately after installing. In the web interface, go to System, then Firmware, then Status, and click "Check for updates"; if updates are offered, install them and let the box reboot. Confirm afterwards on the same page that no further updates are pending and that the dashboard shows the system running normally.
How you know it worked: the firmware status page reports the system as up to date, the dashboard loads without errors, and the console menu still answers on the local console. Your mini PC is now installed, current and ready to configure in earnest.
Mini PC specific problems and their fixes
The box boots the installer again after installation
The USB stick is still inserted or still first in the boot order. Remove it, or return to the firmware and put the internal SSD first. No reinstall is needed.
The installer does not see the SSD
Check in the firmware setup whether the storage device itself is listed. A drive missing there is a hardware or firmware issue (a loose M.2 stick, a disabled controller) rather than an OPNsense issue; the installer can only offer disks the firmware can see.
Nothing on the monitor at all
If the box is a serial console model, a blank monitor is expected behaviour for the kernel messages: the nano and serial images talk to the serial port. Either use the serial console, or use the VGA image if the hardware has a display output. The image must match the console, which is why choosing it was step zero.
The case is hot to the touch
A fanless case is a heatsink, so warm is normal; too hot to keep a hand on is not. Give the box air: stand it so the fins are vertical and exposed, move it out of enclosed cupboards and off the top of other warm equipment, and check nothing is stacked on it.
The network drops when the room gets busy
Unlikely to be the mini PC itself. Before blaming hardware, confirm the port roles are correct and the WAN address is stable in the web interface status pages; a misassigned pair of ports causes more "hardware" faults than any component does.
Once the confirmation list passes, the remaining work is configuration rather than installation: run the setup wizard from the web interface, set your DNS and time zone, and take a configuration backup before you start experimenting. The box is now your firewall.