OPNsense
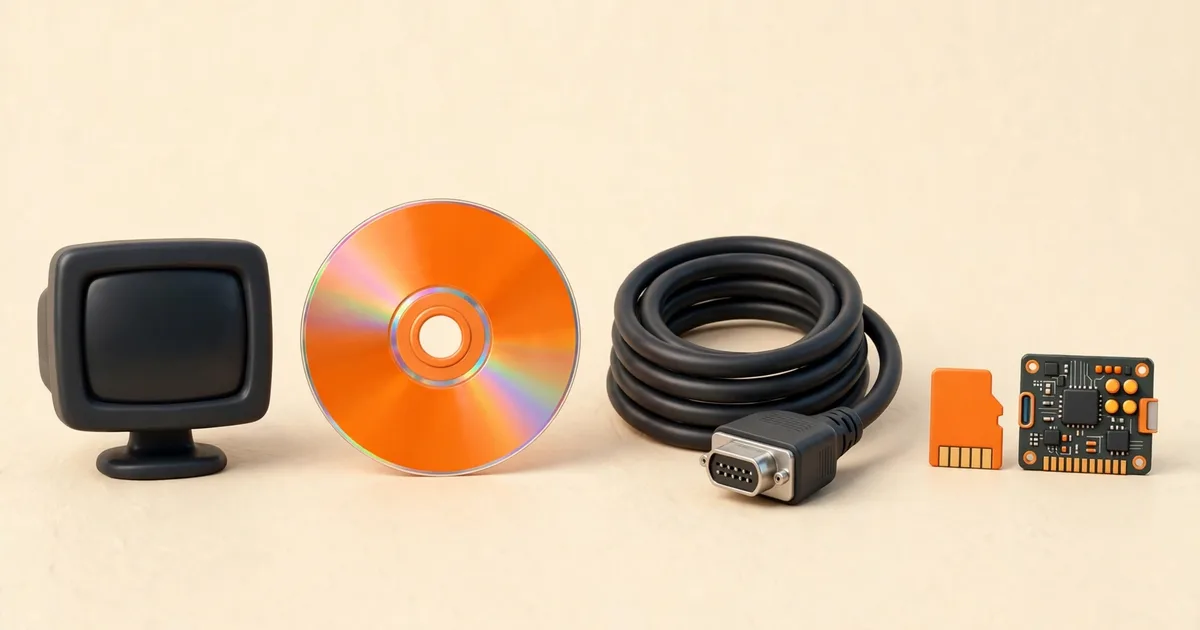
The right OPNsense image depends on one question: how will you talk to the machine while it installs? If it has a monitor and keyboard, download the vga image (or dvd if you specifically need an ISO file). If the hardware is headless and managed through a serial cable, download the serial image. If you want a ready-made system that runs straight from a USB drive, SD card or CF card with no installer at all, download nano. All four contain the same OPNsense 26.7 software; they differ only in console support, media format, and whether an installer runs. Picking by console first, and by media second, gets you the right file every time.
The four images at a glance
| Image | File format | Console | Installer? | Family |
|---|---|---|---|---|
| dvd | ISO (.iso) | VGA only | Yes, boots a live environment first | Full |
| vga | USB image (.img) | VGA only | Yes, boots a live environment first | Full |
| serial | USB image (.img) | Serial only, 115200 baud | Yes, boots a live environment first | Full |
| nano | USB image (.img) | Serial at 115200 baud, secondary VGA without kernel messages | No, preinstalled | Embedded |
Three of the four belong to what the project calls the Full family: dvd, vga and serial. A Full image boots into a live environment that includes the OPNsense Importer (which can load an existing configuration before boot) and the Installer, which copies the system onto your target disk. Nano is the Embedded family, and it works differently: the system is already installed on the image, so writing it to a card and booting it gives you a running firewall, not an installer. Every image is published for the amd64 (x86-64) architecture only, and every file is bzip2-compressed for download, for example OPNsense-26.7-vga-amd64.img.bz2.
The deciding factor: your console
"Console" means the screen and input you use before the network is up: the display where boot messages scroll past and where the text menu appears. Each image is built for exactly one primary console, and the console types do not overlap the way newcomers expect. A vga image produces no output on a serial port, and a serial image produces no picture on a monitor. If you boot the wrong one, the machine can look completely dead even though it is running fine and simply talking to a port you are not watching.
So start with your hardware:
- PC, mini PC or server with HDMI, DisplayPort or VGA output: you have a VGA console in OPNsense terms (the name covers any directly attached display). Choose vga, or dvd if you need ISO format.
- Network appliance or embedded board with a serial port and no display: choose serial. You will connect a console cable and a terminal program set to 115200 baud.
- Embedded board running from SD or CF card: nano is designed for you, with serial as its primary console.
- Virtual machine: choose dvd, because hypervisors boot from ISO files and provide a virtual display.
dvd: the ISO image
The dvd image is a standard ISO file, OPNsense-26.7-dvd-amd64.iso once decompressed. It boots a live environment with UEFI support and a VGA console, and from there you can run the installer onto a disk. Its name is historical: few people still burn physical DVDs, but the ISO format remains the universal language of virtual machines and many server management interfaces, which can mount an ISO as a virtual optical drive.
Choose dvd when:
- You are installing into a virtual machine on Proxmox, KVM, VMware, VirtualBox or a similar hypervisor (the official VM guidance uses the DVD ISO).
- Your server has a remote management interface (such as IPMI) that mounts ISO files.
- You genuinely want to boot from an optical disc.
Do not choose dvd for a USB stick. Some writing tools will accept an ISO and produce a drive that boots, but that behaviour depends on the tool, not on OPNsense. For USB media, the vga and serial images exist precisely so you do not have to rely on that trick.
vga: the standard USB installer
The vga image, OPNsense-26.7-vga-amd64.img, is the default choice for physical hardware with a display. It is written to a USB drive as a raw image, boots a live environment with UEFI support, and offers the Importer and the Installer. Attach a monitor and a USB keyboard, boot from the stick, and everything you need appears on screen.
This is the image most readers of this site should download. It suits desktop PCs converted into firewalls, fanless mini PCs with HDMI output, and rack servers with a crash cart or KVM attached. Our OPNsense Installation Guide follows this image from first boot to the finished installation, and How to Create an OPNsense Bootable USB Drive covers writing it to a stick correctly.
serial: the USB installer for headless hardware
The serial image, OPNsense-26.7-serial-amd64.img, is the same Full installer as vga, but built for machines with no display at all. Everything, from the first boot messages to the installer menus, travels over the serial port at 115200 baud. You connect the appliance to another computer with a serial console cable, open a terminal program with the matching settings, and work from there.
Choose serial when your firewall hardware is a headless appliance, a rack unit, or an embedded board whose only management port is serial. Do not choose it "just in case" for a machine with a monitor: on a display, a serial image appears to do nothing, because all of its output is going to the serial port. Conversely, if you boot a vga image in a headless box, your serial terminal stays blank for the same reason in reverse. This one-way behaviour is the cause of most "OPNsense will not boot" reports from new users, and the cure is always to rewrite the stick with the other image.
One more thing to check before you commit: your terminal settings. The serial console expects 115200 baud; a mismatched speed shows garbled characters rather than a clean failure, which can look like a broken image when the image is fine.
nano: the preinstalled embedded image
Nano breaks the pattern of the other three. There is no live environment and no installer, because the system is already installed on the image itself. You write OPNsense-26.7-nano-amd64.img to a USB drive, SD card or CF card of at least 4 GB, put the card in the device, and boot. The image is 3 GB in size and automatically adapts to the full size of your media after the first boot. Its primary console is serial at 115200 baud, with a secondary VGA output that shows the later boot stages but not the kernel messages.
Nano exists for embedded hardware that runs from removable flash media, and its design reflects that:
- It writes to a RAM disk rather than constantly writing to the card, which prolongs the life of SD and CF media.
- Because /var/log and /tmp are memory disks, log data is not retained after a reboot.
- Reporting features are disabled by default for the same reason.
- There is nothing to install, so there is also no choice of filesystem or disk layout at setup time.
Choose nano when your device boots from a card and you accept the logging trade-offs, or when you want a quick, reversible trial from a USB drive without touching an internal disk. Choose a Full image instead when the machine has an internal SSD you intend to use permanently, which is the more common modern setup. The OPNsense Nano Image guide covers the embedded option in depth, including how its RAM disk behaviour affects day-to-day use.
img vs iso: what the extensions really mean
The supporting question behind many searches is simpler than the image debate: what is the difference between the .iso and .img files? An ISO is a disc image, designed to be burned to optical media or mounted by a hypervisor as a virtual disc. An IMG here is a raw disk image, designed to be written sector by sector to a USB drive or card so the device boots from it as if it were a prepared disk. Both are delivered compressed with bzip2 (the .bz2 suffix) and are decompressed before or during writing.
The practical rules follow from that:
- Never copy an .img or .iso onto a USB drive as a file in a file manager. The drive must be written as a raw image, as shown in How to Create an OPNsense Bootable USB Drive.
- Do not rename one format to the other. An .img renamed to .iso does not become a disc image.
- If a tool asks whether to use ISO mode or DD (raw) mode for a USB stick, the OPNsense USB images belong in raw/DD mode.
A decision walkthrough
If you are still torn, answer these three questions in order:
- Are you installing into a virtual machine? If yes, stop here: download dvd.
- Does the machine have a display you can attach? If yes, download vga. It is the standard path, it is what the installation guide assumes, and it is the easiest to troubleshoot because you can see everything.
- No display. Does the machine have an internal disk you want to install onto? If yes, download serial and install through the console cable. If no, because the device runs from a card, download nano and boot it directly.
How to confirm you picked correctly
You do not have to guess and hope. The confirmation comes at first boot, within a minute:
- vga or dvd: boot messages appear on the attached monitor, followed by the live environment and its console menu. If the screen stays blank while the machine clearly powers on, suspect a serial-only board or a boot-order problem, not a corrupt image.
- serial: readable boot text streams into your terminal at 115200 baud. Garbled text means the baud rate is wrong; no text at all usually means the wrong cable, the wrong port, or a vga image on the stick.
- nano: the system boots straight into a running OPNsense and presents the console menu for initial interface assignment, with no installer login offered, because there is nothing to install.
If your first boot matches the row for the image you chose, the choice was right. If it matches a different row's symptom, rewrite the media with the matching image and boot again; nothing is damaged by the attempt, because the Full images only change your disk when you run the installer, and nano only changes the card it lives on.
UEFI, and the one boot-mode exception
Boot firmware is the other place where the images differ, though it rarely changes the choice. The dvd, vga and serial images are UEFI hybrid images: they can boot on modern UEFI systems and on older legacy BIOS systems, which is one less thing to configure in the firmware setup. The nano image is the exception; it boots as MBR, the older partitioning style. On a modern mini PC that defaults to UEFI-only booting, a nano card may not start until you enable the legacy or CSM boot option in the firmware settings, or the board may refuse it entirely.
Practically, this means the decision order still holds: pick by console first, then check the boot mode of your specific board if you are heading for nano. If your embedded board is UEFI-only with no legacy option, a Full image installed onto an internal drive, or a different board, is the realistic path.
Can you change your mind later?
Yes, cheaply. The image choice only affects the installation medium, not the installed system. Once OPNsense is installed on a disk from any Full image, the result is the same firewall, and the console behaviour of the installed system is a setting you control in the finished product, not something frozen by the installer you used. If you picked the wrong image, nothing is lost except the few minutes it takes to download the right one and rewrite the stick. Even a completed installation never needs to be redone just because you installed from dvd instead of vga; both ran the same installer.
Summary
Reach for vga for ordinary hardware with a screen, dvd for virtual machines and ISO mounting, serial for headless hardware with an internal disk, and nano for embedded devices that run from a card. When you are ready to download, OPNsense Download shows where to get the file safely and how the mirror system works, and verifying the checksum before you write the stick takes two minutes and proves the file is genuine.